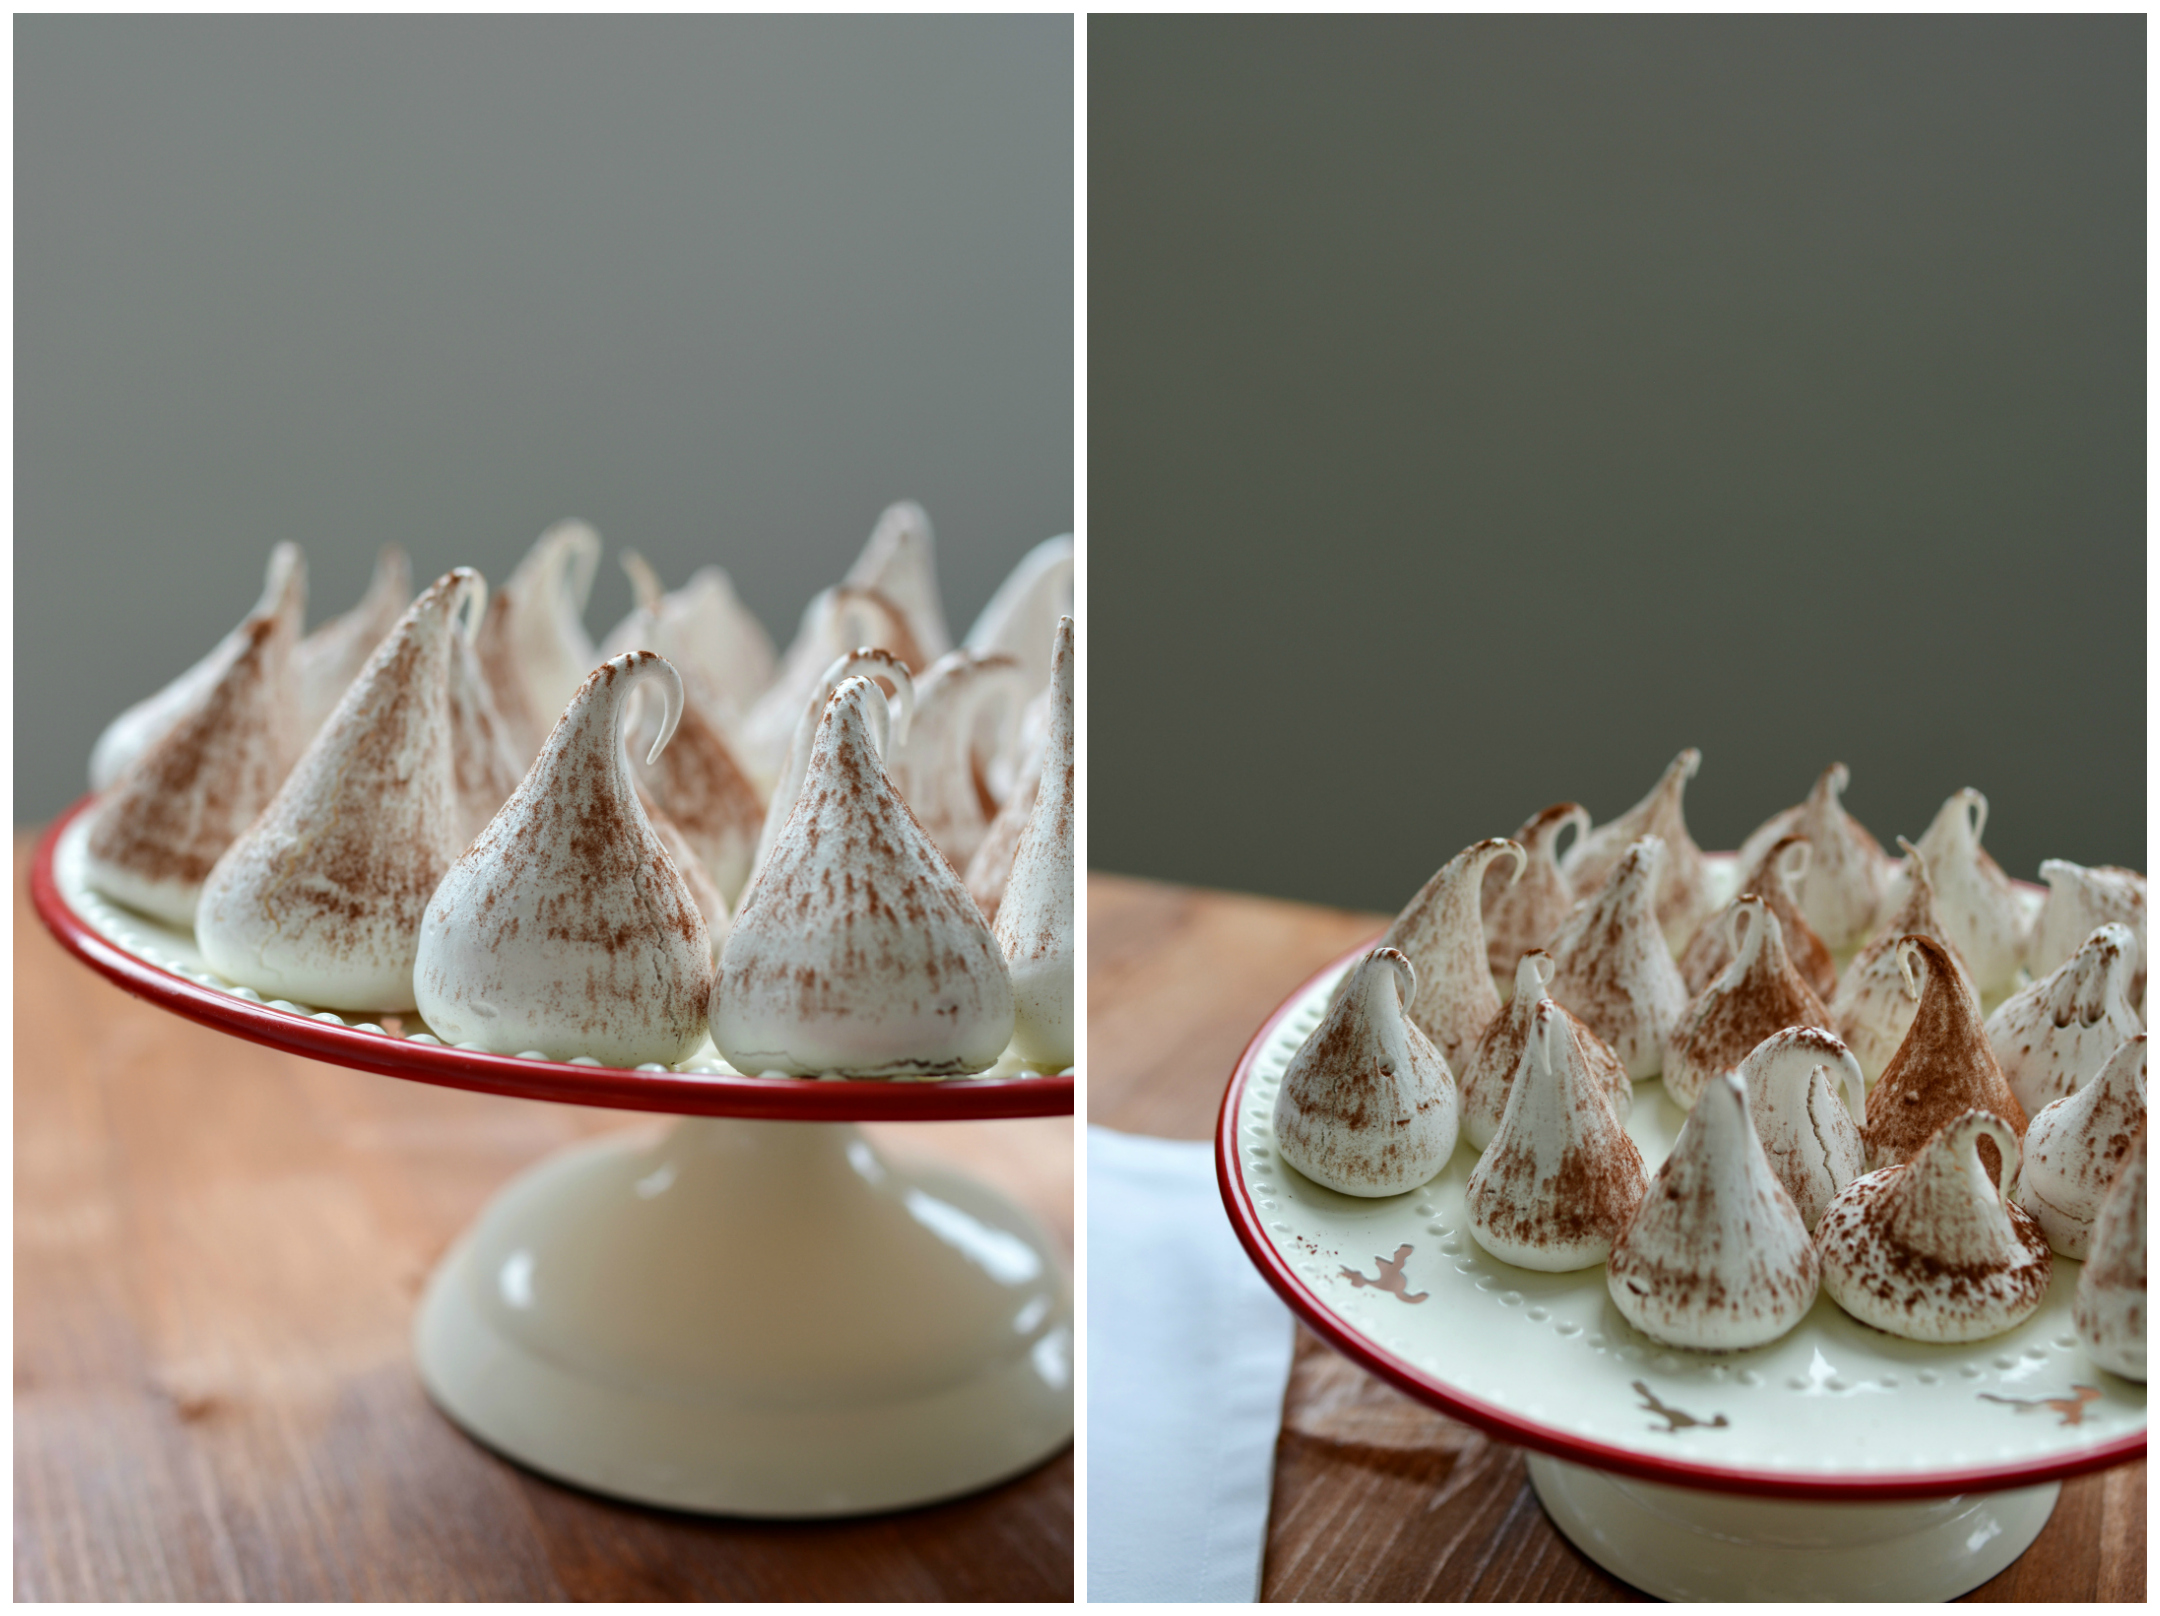
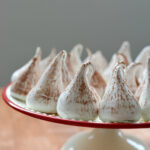
Savor the delightful Swiss Meringue Kisses, beloved by Americans. These treats feature a perfect balance of crisp exteriors and soft, marshmallow-like interiors, making them an irresistible treat for any occasion.

There are three main types of meringue, French, Italian, and Swiss.
Each uses the same base of egg whites and sugar but uses different methods of bringing them together to create a meringue.
Fun fact… in Switzerland, it is customary to give three kisses on the cheek when greeting friends and family, so it seemed only right that these particular kisses should be Swiss.
French meringue is made by whipping up cold egg whites, then adding sugar and continuing to whip until you have stiff peaks.
Italian meringue whips up cold egg white then adds a hot sugar syrup to partially cook the egg whites while making the meringue.
Swiss meringue heats the sugar and egg whites together at the beginning of the process over a double boiler and is then whipped until cool.
Personally, I like making the Swiss one the best.
It is a very stable meringue which means it is harder for it to go wrong – always good if you ask me!
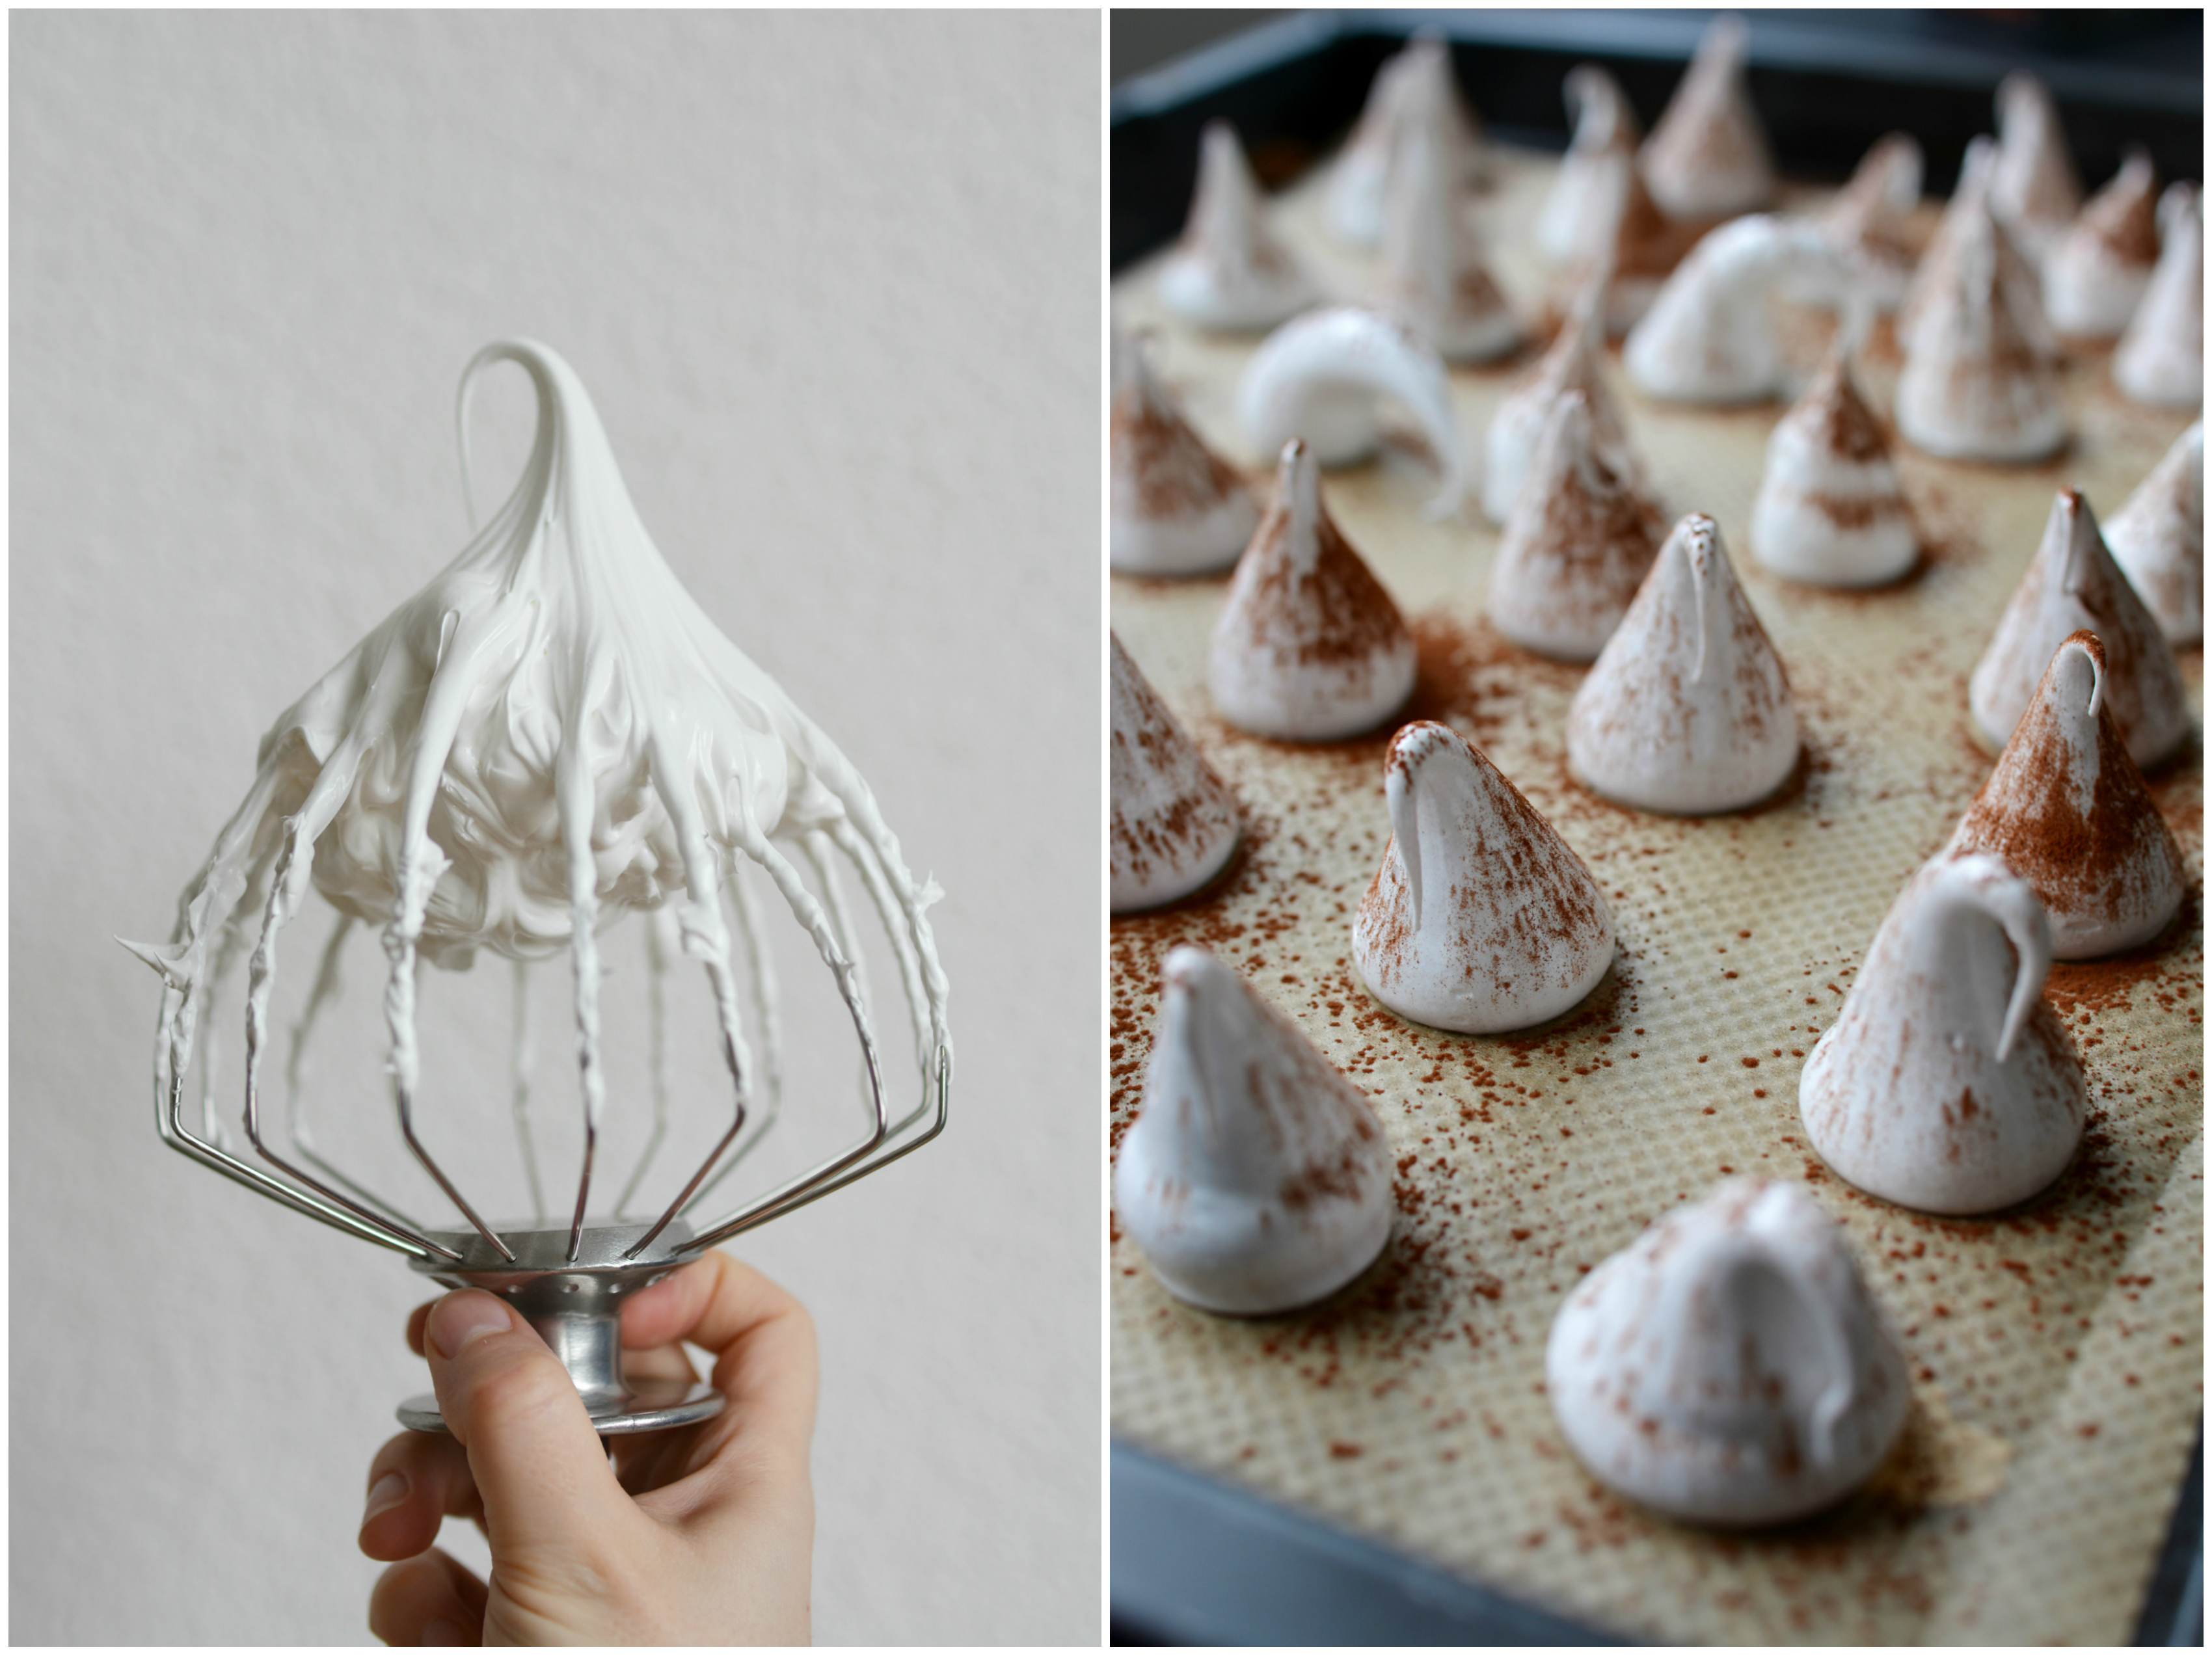
You will see in the picture below how the mixture should hold itself when it’s ready to be piped.
When you stir the balloon whisk through the mixture there should be quite a lot of resistance.
This is key in making these tiny meringues hold their shape and deliver their crispy chewiness.
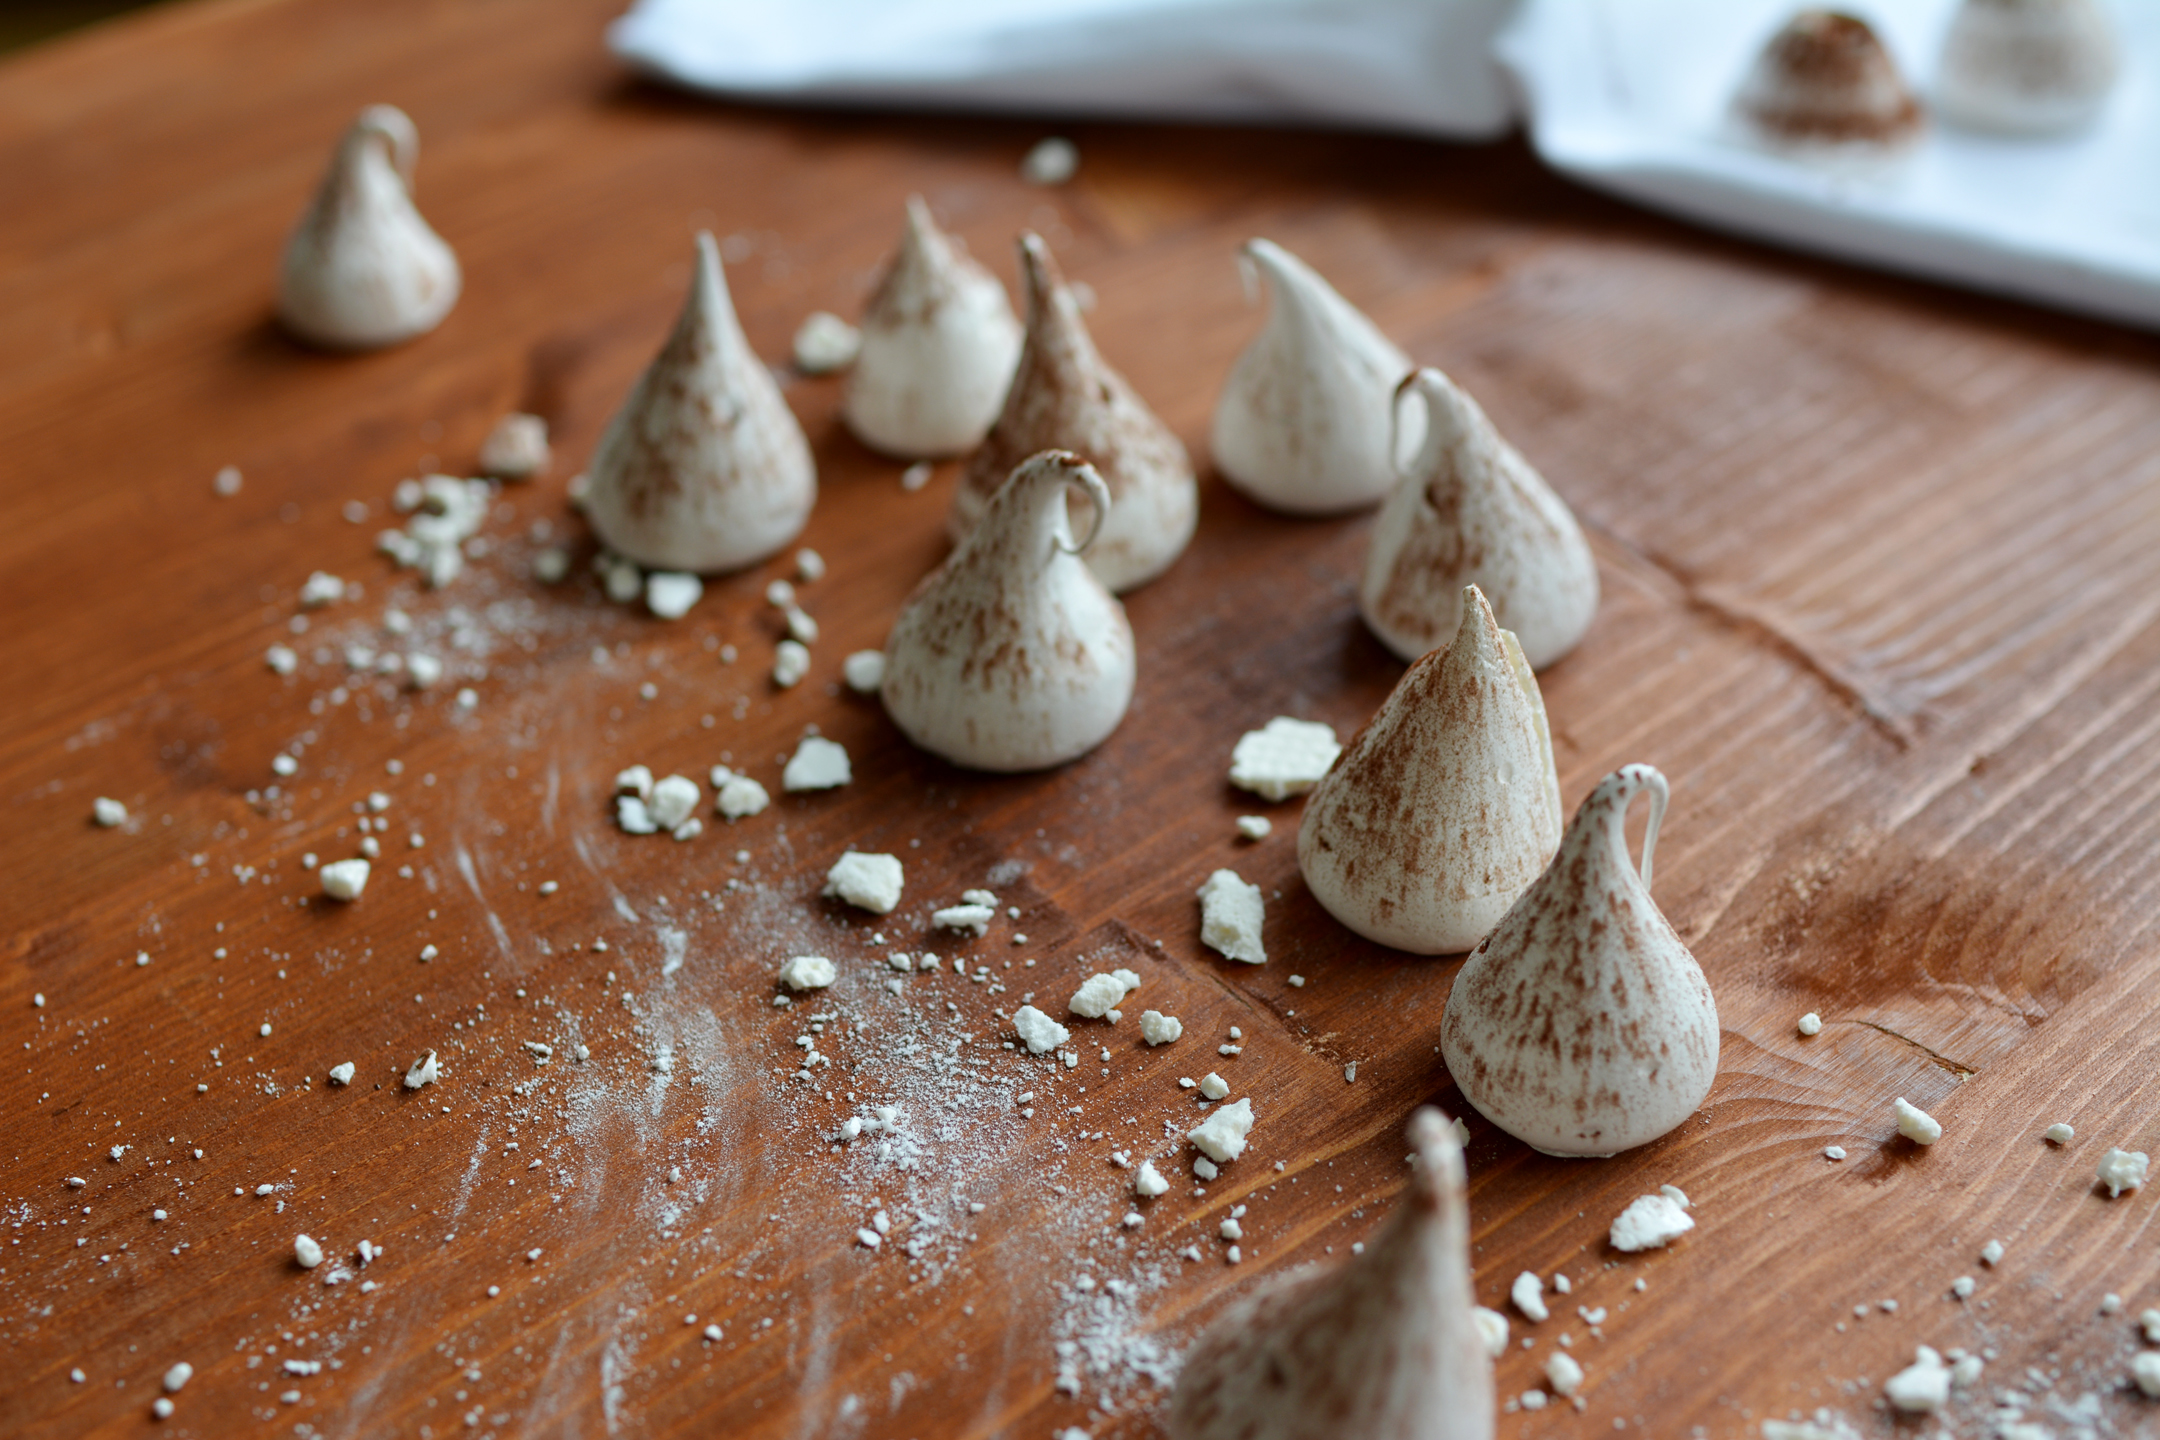
After a dusting of cocoa powder, they are ready for a long, slow bake – we don’t want any color on the surface.
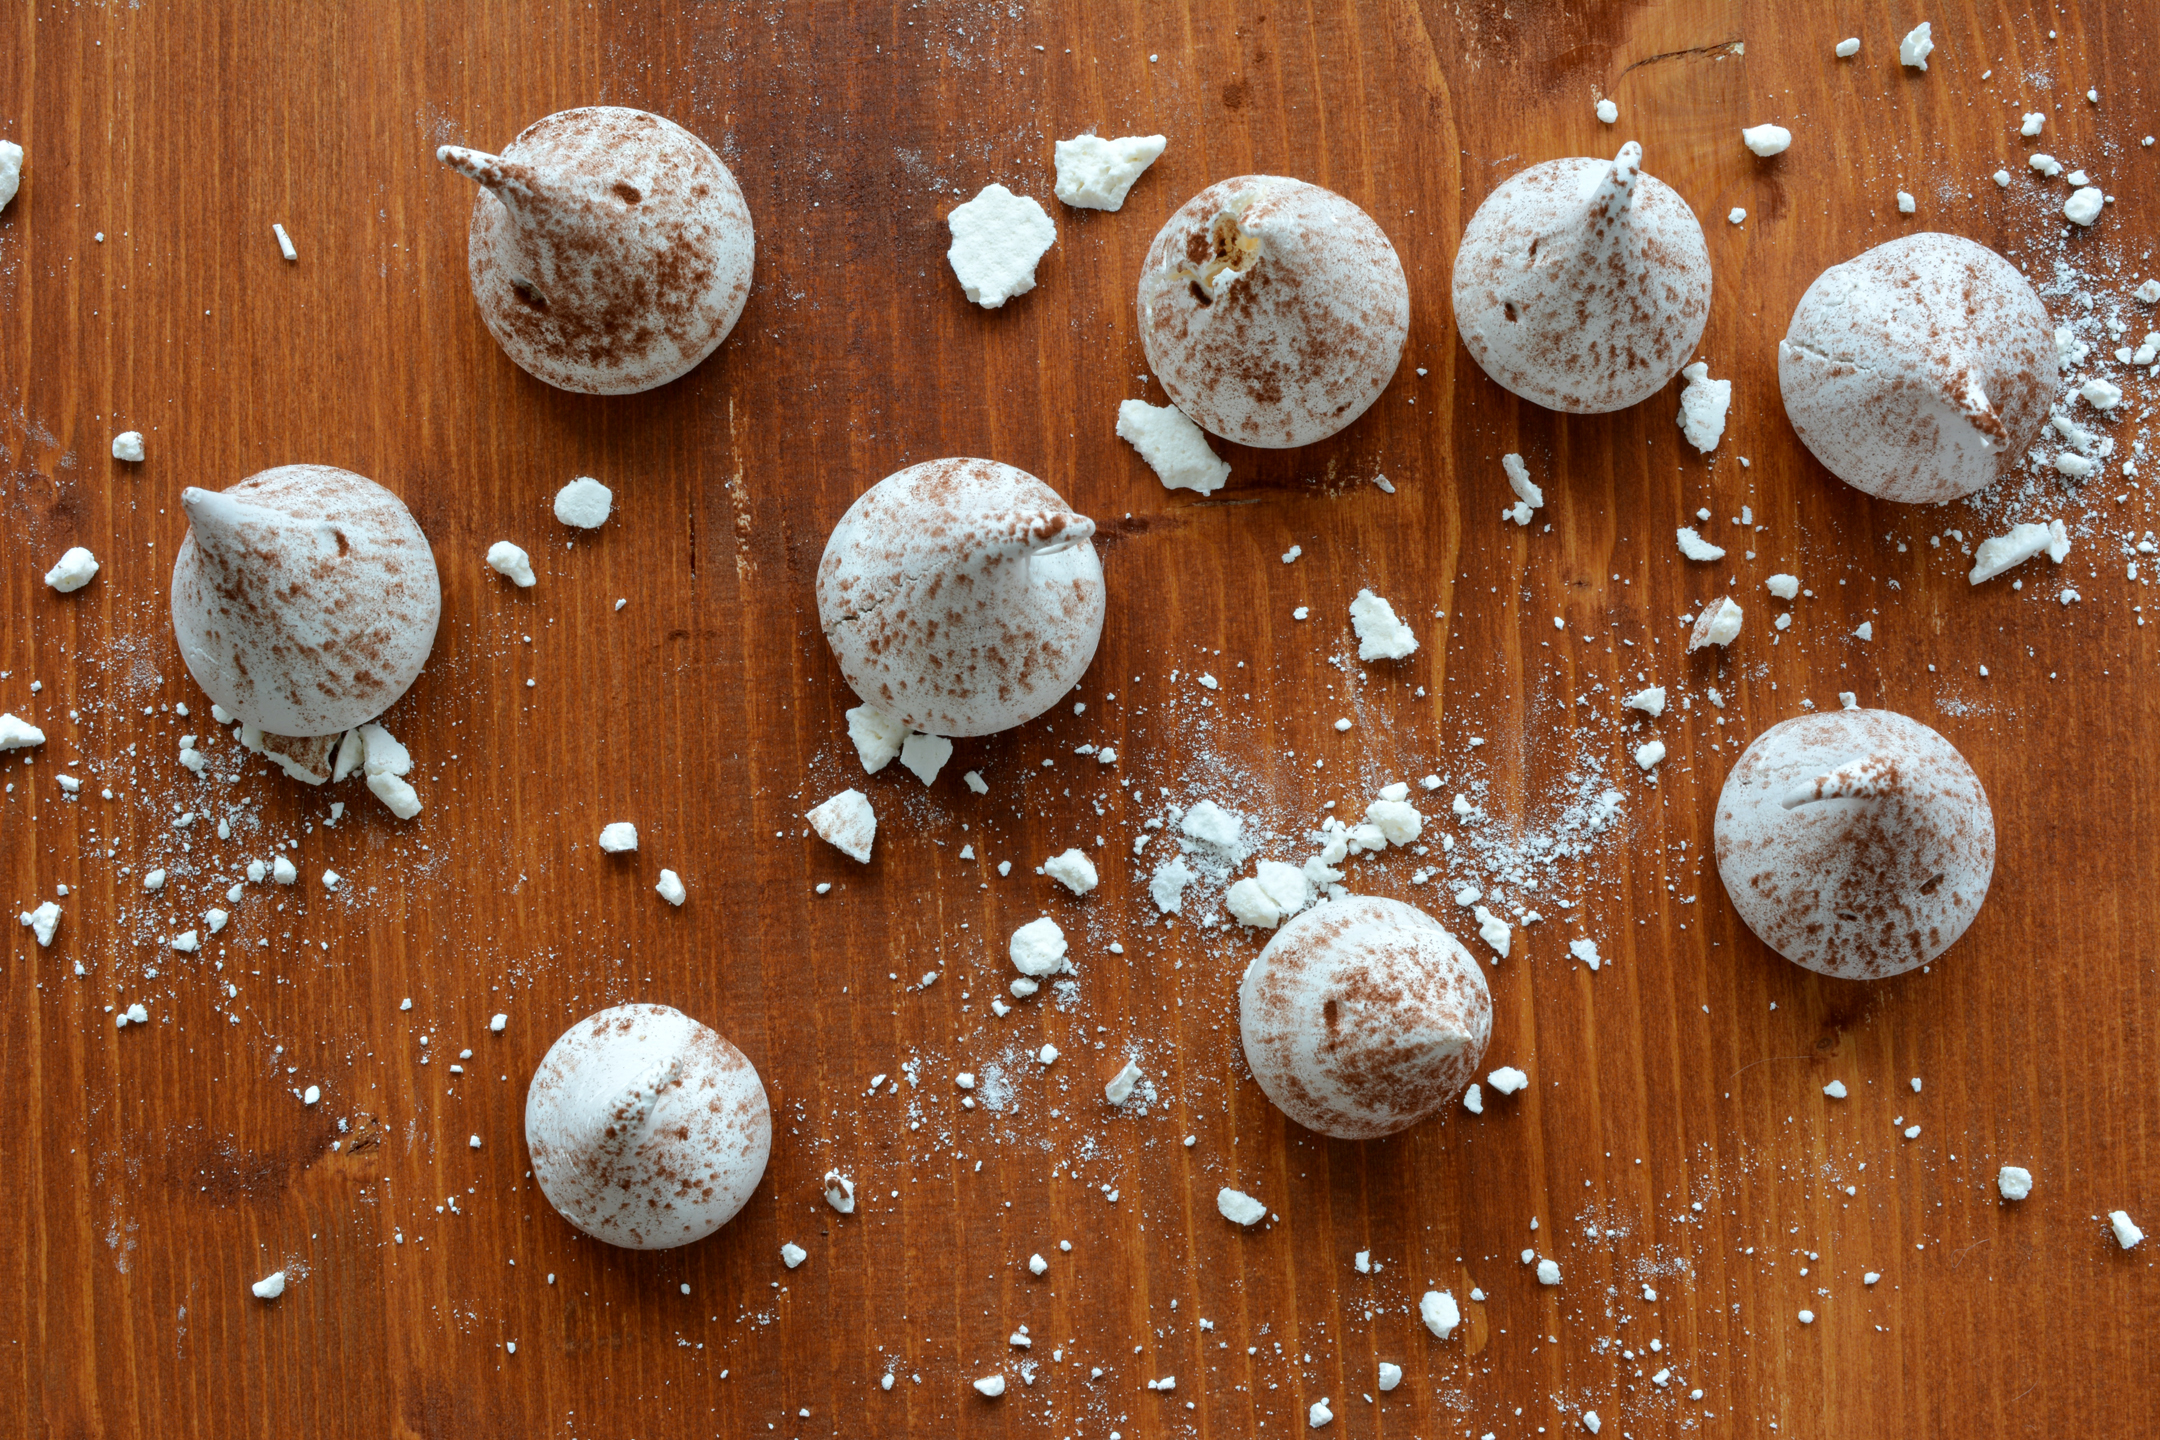
They are melt-in-the-mouth moments, cute and addictive. It’s (far too) easy to pop 5 of these in your mouth at once… maybe we should have some kind of contest?
The kisses are a little like Macarons, being meringue-based, but they are just pure meringue rather than having a solid like almond meal added as well.
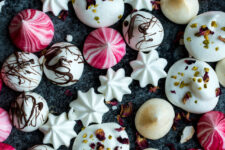
Depending on what you fancy, you could make these all sorts of different colors or flavors.
I’ve enjoyed experimenting with other recipes! If you want to color the meringue I would recommend gel food coloring.
It’s more concentrated in color so you won’t need as much and the gel won’t alter the texture of the mixture as much as liquid food coloring.
You could dip the finished kisses in chocolate for a fun twist, or even sandwich two together end to end with some kind of filling!
I went for a simple dusting of cocoa powder for a subtle chocolate flavor.
Who doesn’t love chocolate?
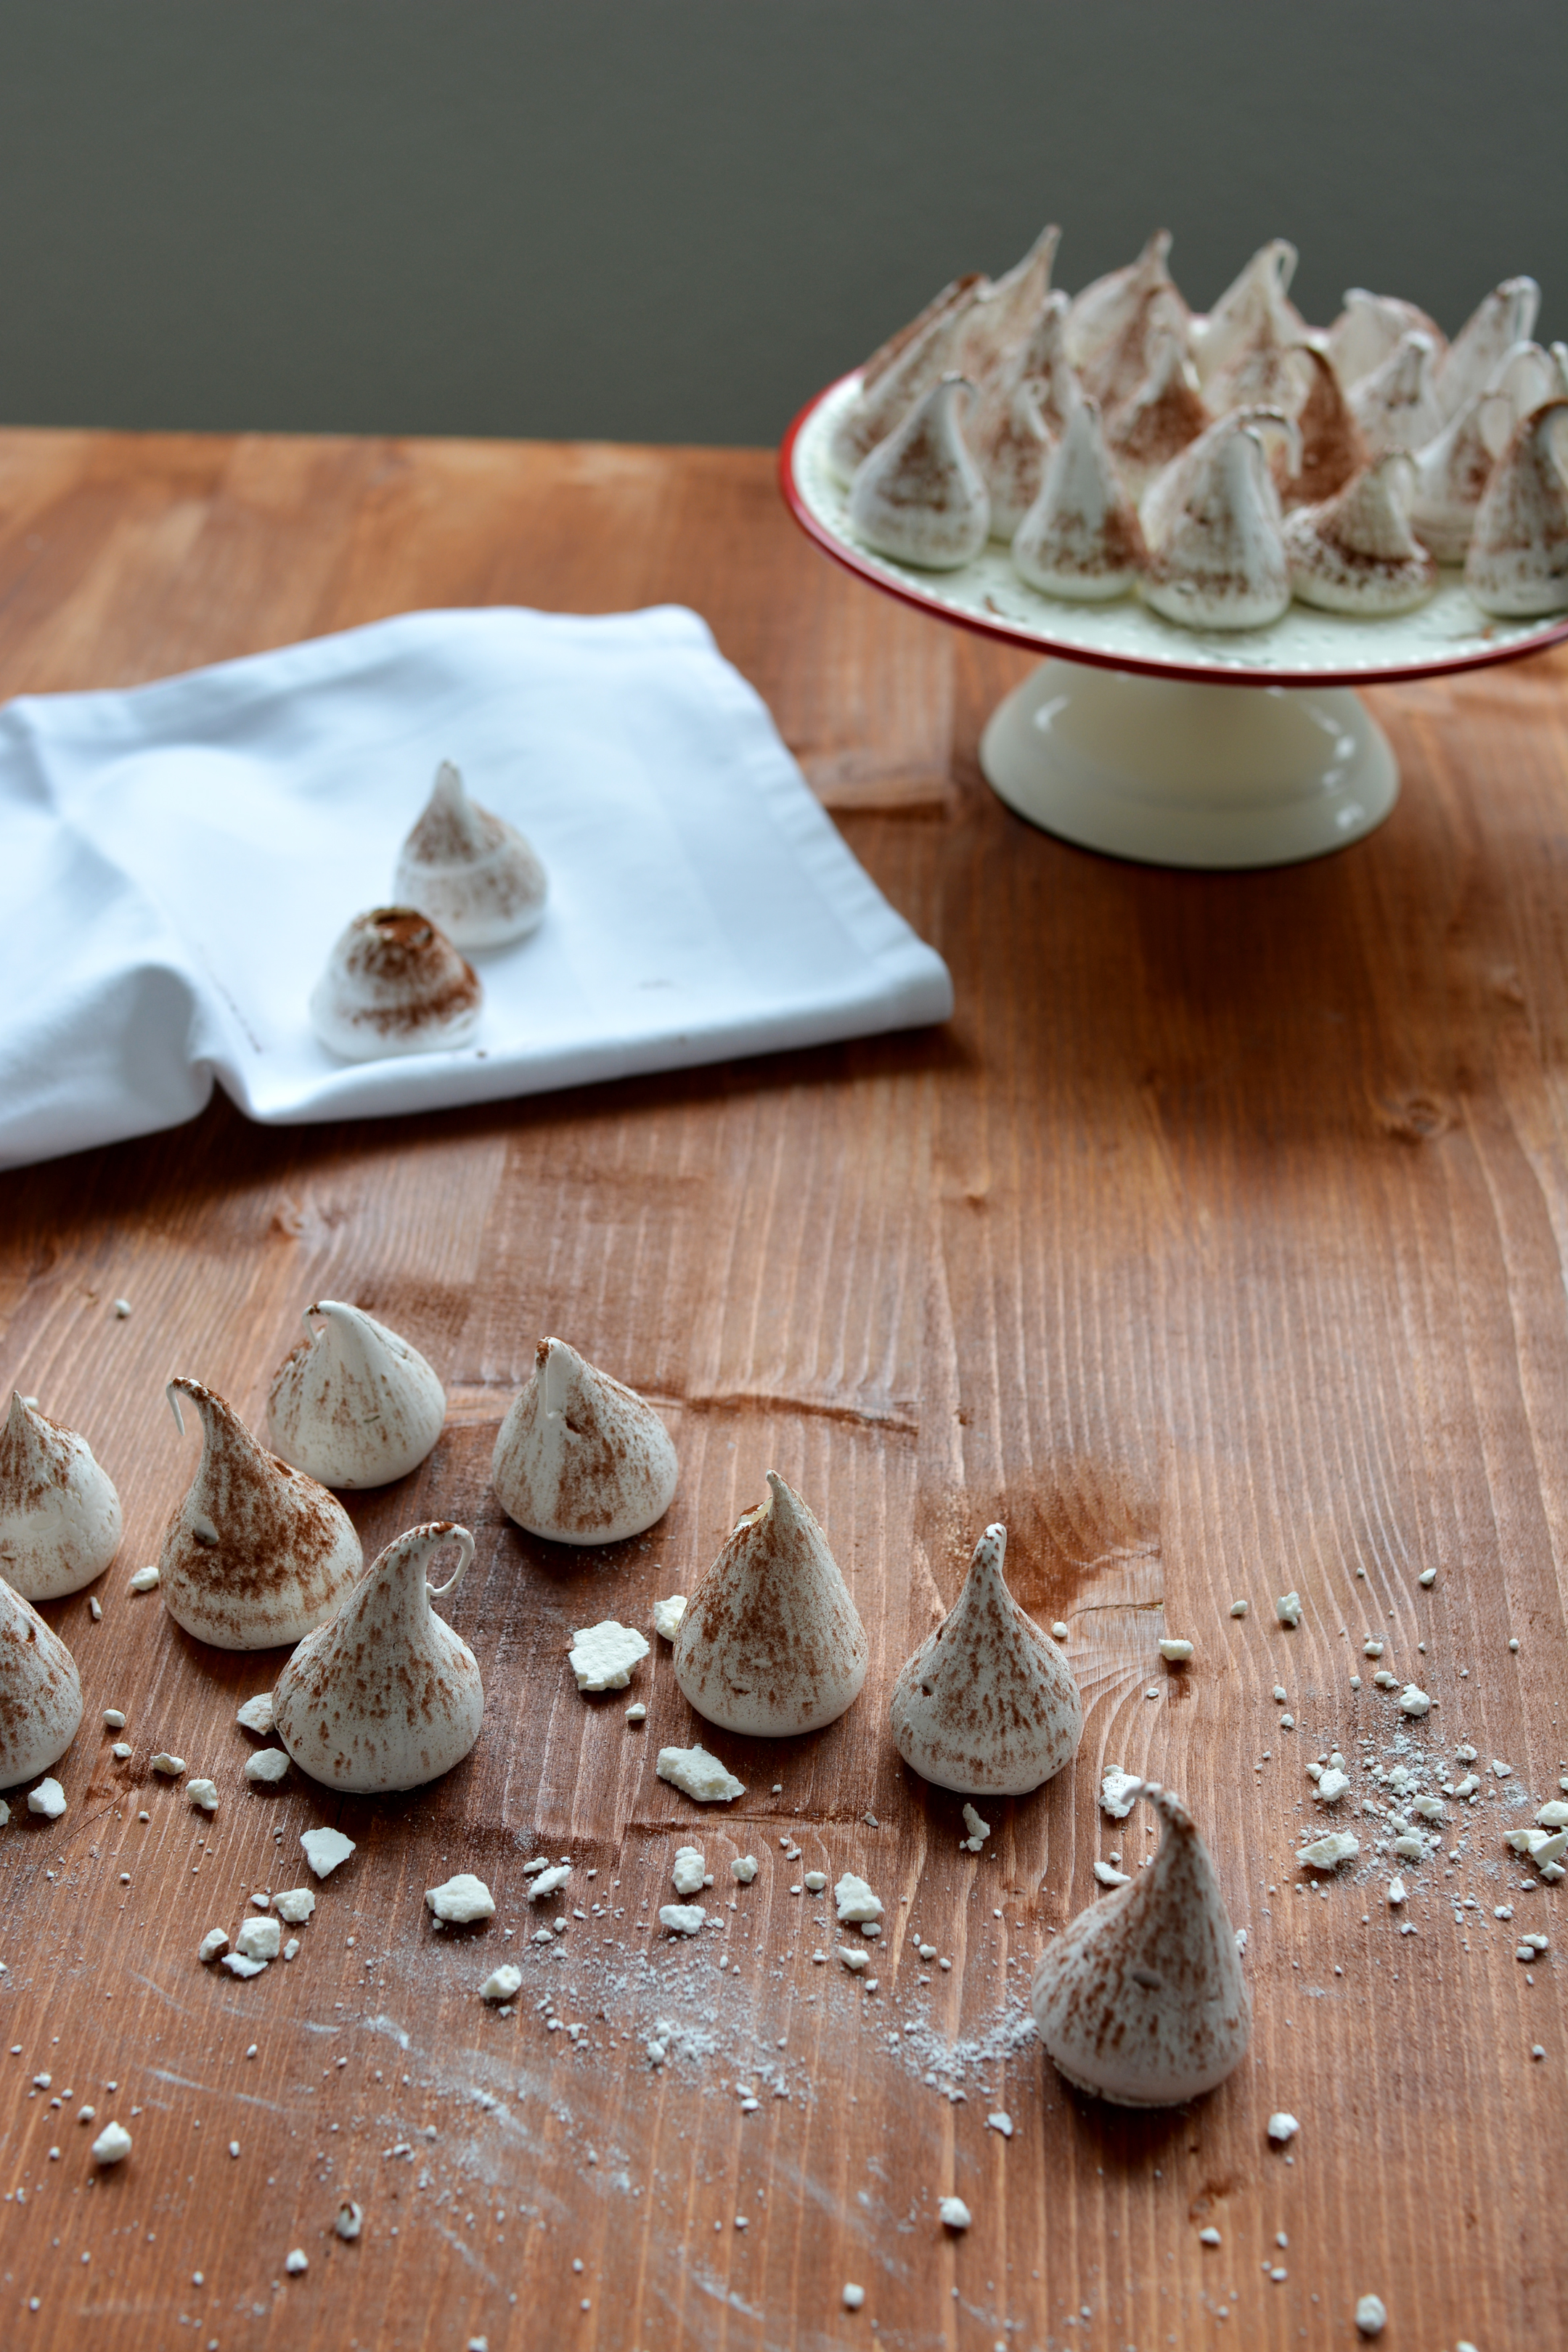
How cute would these look in a little gift box for a friend or as a centerpiece for an afternoon tea?
Give them a go and let me know if you try any different colors or flavors!
Swiss Meringue Kisses
Equipment
- 1 stand mixer
- 1 saucepan
- 1 piping bag fitted with a round tip
- 1 baking sheet
Ingredients
- 2 egg whites room-temperature
- 1/2 cup granulated sugar
- 2 tsp. cocoa powder
Instructions
- Place the room-temperature egg whites and the granulated sugar into the bowl from your stand mixer and mix to combine. On the stove, fill a saucepan with about 1.5 inches of water and bring to a simmer. You should be able to place the bowl of your stand mixer on top of the saucepan so that the steam can heat it, but the water does not touch the bowl.
- Once the water is simmering, place the bowl with the egg white mixture over it to create a double boiler. Mix by hand with the balloon whisk constantly for 3 minutes. The sugar should completely dissolve. You can test if it is done by rubbing a small amount of mixture between your thumb and index finger. If it feels grainy, continue whisking over the steam until it is completely smooth.
- Transfer the bowl onto the stand mixer, attach the balloon whisk, and beat on high speed for 10 minutes or until the bowl is completely cool. You will be left with a very stiff meringue that is almost marshmallow-y in texture. There will be stiff peaks that support themselves when the whisk is lifted out and turned over.
- Preheat the oven to 212°F (100°C). Place the meringue in a piping bag fitted with a round tip. On a flat baking tray lined with parchment paper, pipe dots of mixture so they are about 1.5 inches round. Release the pressure on the bag and lift it away to create a point on top. Dust the kisses lightly with cocoa powder and bake for 90 minutes. After 90 minutes turn off the oven and leave the meringues in it for another 30-60 minutes to continue drying. After this they are done and should be crispy on the outside and chewy on the inside!


How do you store these and how long do they keep?
Hi Kati! As soon as these are cool, put them into an airtight container to keep them crispy and avoid them going soggy. You can keep them in the airtight container for up to 2 weeks, or you could freeze them and keep them for up to a month. Only take them out the airtight container right before you want to serve them to maintain the crispiness! Hope they turn out well for you!
Those look amazing!! Did you make them for any special occasion or just because?
Thanks Samantha! These weren’t for anything special but they were SO quick to whip up I think I’ll make them again next time I’m hosting something! They would also be great for topping a cake with for some different fun decoration!
Yumo! They look delish… Excited to give them a try :)
Such a great gift idea as you’ve mentioned!
Love this and your images are perfect.
Thank you so much! x